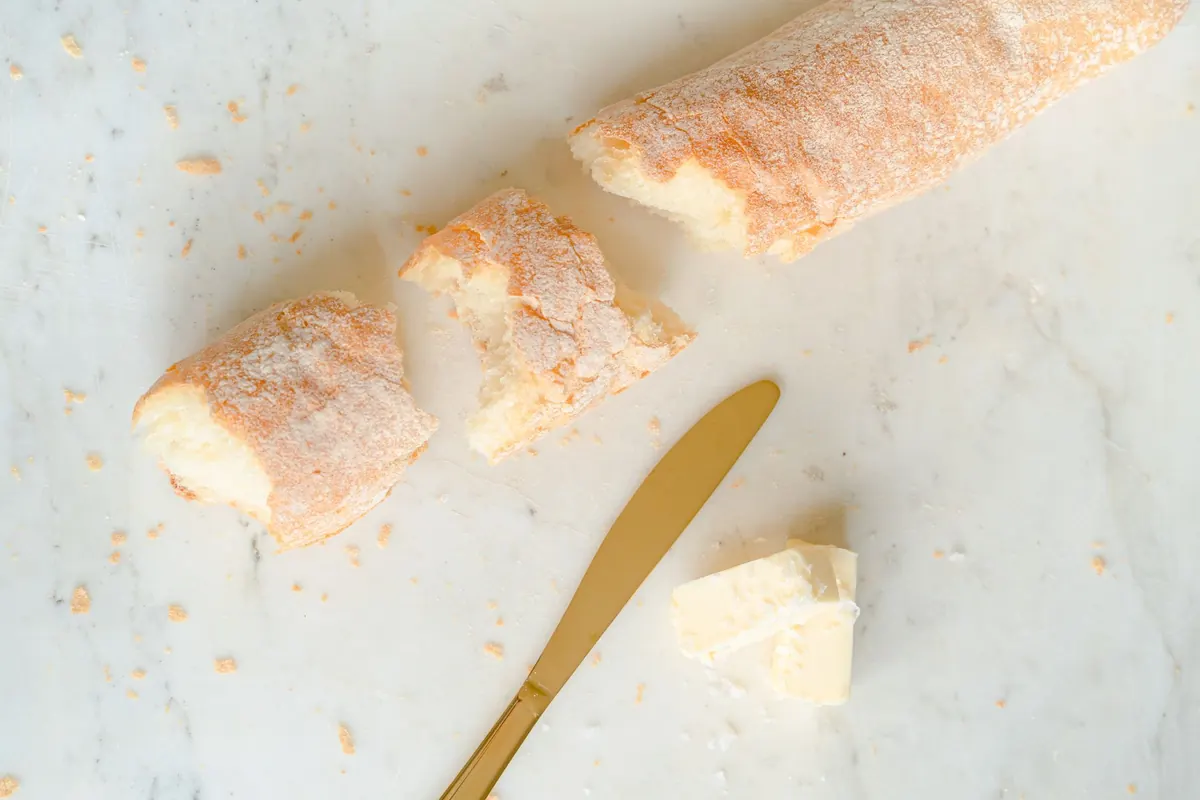
A good crumpet is mostly holes. The bread around them exists to hold butter. That is why a first batch often disappoints: the batter was too thick, the pan too hot, or the bicarbonate stayed in the cupboard. None of those mistakes are hard to fix.
What follows is the whole process, start to finish — a wet yeasted batter, a short second rest, and cooking in metal rings on a heavy pan. Allow about two hours from weighing flour to eating the first one. Most of that is waiting.
What You Need
Crumpet batter is deliberately runny, so it needs something to hold its shape while it sets. Metal rings do that job, and they are the only piece of kit worth buying specially.
Ingredients for about nine crumpets
- 300g strong white bread flour
- 350ml warm water, or 250ml water plus 100ml whole milk for a softer crumb
- 7g fast-action dried yeast
- 1 tsp caster sugar
- 1 tsp fine salt
- 1 tsp bicarbonate of soda
- Neutral oil or softened butter, for greasing
Equipment
- Metal crumpet rings, roughly 8–9cm across and 2–3cm deep
- A heavy frying pan or flat griddle that sits level
- A whisk, a jug, a spatula and a wire rack
Silicone moulds are the wrong tool here. They don't conduct heat into the batter, so the edges stay pale and stick. If you don't want to buy rings, metal pastry cutters work, as do clean tins with both ends removed — mind the cut edges.
Mixing the Batter
Whisk the flour, yeast and sugar together dry in a large bowl or a jug. Pour in the warm water in three or four goes, whisking to a smooth batter each time. Lukewarm, not hot, or the yeast will suffer.
You are aiming for something thicker than milk and thinner than pancake batter. Lift the whisk: the batter should fall in a ribbon that flattens out within a second. If it sits in a mound, add water a tablespoon at a time until it loosens.
Cover and leave it somewhere warmish for 60 to 90 minutes. It should roughly double, turn frothy on top and smell properly yeasty, with a faint sour edge. A cold kitchen only means a longer wait.
Why the batter has to be wet
A thick batter traps bubbles and then sets around them before they can rise, which gives you something closer to a muffin. The holes in a crumpet are bubbles escaping through a slack, wet batter as the base sets underneath. Thin batter is the whole trick, and it feels wrong the first time you make it.
The Bicarbonate Step
After the first rise, dissolve 1 tsp of bicarbonate of soda in 2 tbsp of warm water and whisk it in, along with the salt. The batter will fizz a little.
Bicarbonate makes the batter alkaline. In an alkaline mix, bubbles hold their shape as they rise and the surface browns properly; in an acidic one they collapse and you get pale, flat discs with a rubbery chew. It also gives crumpets their faintly savoury tang. Leaving it out is the most common reason for a hole-free batch.
Salt goes in late rather than at the start because it slows the yeast and firms up the gluten. Adding it now keeps the first rise lively and the batter pourable.
Whisk briefly, cover, and leave for another 20 to 30 minutes until the surface is frothy and active. The batter is then ready, and it won't wait all afternoon — cook it within the hour.
Cooking in Rings
Get everything within reach before you start. Once the batter is in the rings you are watching and waiting, not hunting for a spatula.
- Warm a heavy pan over medium-low heat for a full five minutes. Steady, moderate heat is what you want. A searing pan sets the base before any bubbles can form.
- Grease the pan lightly and each ring generously, inside wall and bottom edge. Stand the rings in the pan for a minute to heat through.
- Ladle batter into each ring to a depth of about 1cm, roughly a third full. Resist topping them up.
- Watch. Within two or three minutes bubbles will rise and burst across the surface, growing bigger and closer together as the batter turns from glossy to matte.
- Cook for 8 to 12 minutes, until the top is set and covered in small holes, and the edges look dry and pull away from the ring slightly. The surface should be matte, not wet and shiny. If the middle still looks liquid, give it another minute or two; if the bottom is browning too fast, turn the heat down and move the pan off the hot spot for a moment.
- Run a thin spatula or a small knife around the inside of each ring. Lift the ring away with a cloth or tongs — it will be hot — and slide the crumpet onto a wire rack. Do not flip it. The base is already browned; the top is supposed to stay pale and holey.
- Regrease the rings and pan lightly between batches. Give the batter a gentle stir after the first few crumpets, just to redistribute the yeast and bubbles, but don't beat it hard or you'll knock the air out.
- Keep cooked crumpets on a rack in a single layer. If you need to hold them for more than a few minutes, put them in a low oven, around 100°C, uncovered, so they stay warm without steaming soft.
Serving and Keeping
Eat crumpets warm, or toast them if they have cooled. The classic move is butter: it melts down into the holes and pools in the little craters. Add jam, honey, Marmite, melted cheese, or a poached egg on top. A crumpet is also a good vehicle for leftover roast meat or a fried tomato, though plain butter is hard to beat.
Fresh crumpets are best on the day they are made. Keep them in a paper bag or a loosely covered container for up to two days; a sealed plastic box traps moisture and turns them clammy. To reheat, toast them, grill them, or warm them in a dry pan. They freeze well: cool completely, wrap in a bag, and freeze for up to three months. Reheat from frozen in a toaster or under a hot grill, straight from the freezer.
Troubleshooting
Most crumpet problems come down to heat, thickness or the bicarbonate. Here are the usual suspects.
- No holes: The batter was too thick, the pan was too hot, or you forgot the bicarbonate. Thin the batter with a splash of warm water, lower the heat, and make sure the bicarbonate is fresh.
- Pale and doughy in the middle: The heat was too low, or the rings were too cold when the batter went in. Let the rings heat through in the pan for a full minute before filling them.
- Sticking badly: The rings or pan need more grease, or the pan is not level. Brush the inside walls and bottom edges of the rings generously, and re-grease between batches.
- Batter leaking under the rings: The rings are not sitting flat, or the batter is thinner than it should be. Check the pan is not warped, and if needed, whisk in a tablespoon of flour.
- Flat and sour after the second rest: The batter over-fermented. Once the bicarbonate is in, cook it within the hour; don't leave it sitting all afternoon.
- Rubbery texture: Usually overmixing or too much flour. Mix until just smooth, and resist adding extra flour to a wet batter — wet is what you want.
Make-Ahead and Timing
You can mix the batter up to the first rise the night before and leave it in the fridge. Bring it back to room temperature for about an hour, then add the bicarbonate and salt and let it froth for 20 to 30 minutes before cooking. A cold batter will take longer to bubble, so give it the time it needs rather than rushing it onto the pan.
If you only remember one thing: the batter should be wet enough to fall from the whisk in a ribbon, and the pan should be hot enough to set the base slowly, not instantly.
Photo: Antoni Shkraba / Pexels