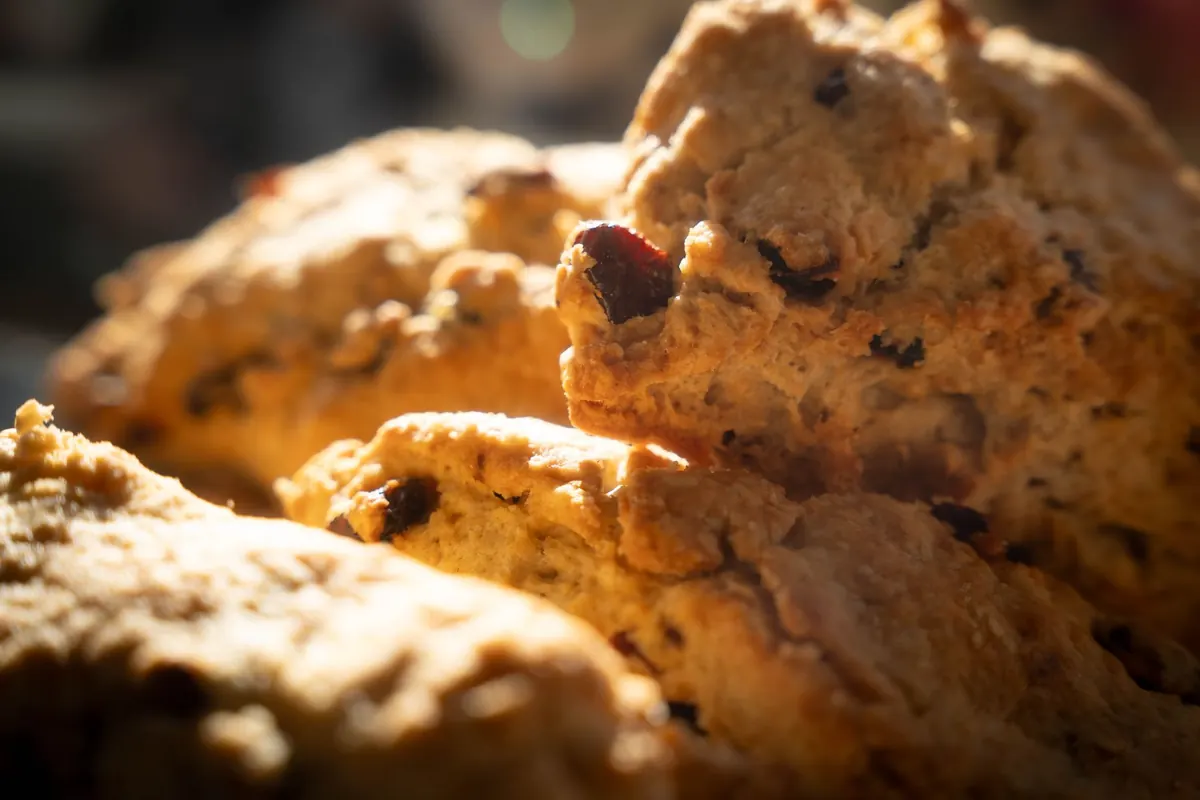
Pull a proper batch of scones from the oven and the whole kitchen smells like a good idea. Pull out a tray of flat, pale discs and you will still eat them, but with a small sigh.
The frustrating part is that scone dough is about as simple as baking gets: flour, butter, a little sugar and salt, a raising agent, and enough liquid to bring it together. So when they fail, it is almost never the recipe. It is one of five habits, and every one of them is fixable the next time you bake.
Mistake one: treating the dough like bread dough
Scones sit somewhere between pastry and bread, and they lean much closer to pastry. The moment you knead, you build gluten, and gluten is what turns a light crumb into something chewy and tight. You want the opposite: the shortest possible mix.
Rub cold butter into the flour until it looks like coarse breadcrumbs, stir in the liquid with a round-bladed knife, then bring it together with your hands in a few quick movements. Stop while it still looks slightly shaggy — a few dry patches are fine, and better than a smooth, elastic ball.
To shape, pat the dough into a round about 3–4cm thick rather than rolling it hard. If you want a bit of layered lift, fold the round in half once, press it flat again, and cut. That single fold does more for height than any amount of extra baking powder.
Mistake two: warm butter, warm hands, warm everything
Butter does two jobs in a scone. It shortens the texture, and it creates steam as it melts in the oven, which pushes the dough upwards. If it has already melted in your hands before the scone reaches the oven, most of that lift is gone.
A few things help:
- Freeze the butter for 15 minutes and grate it on the coarse side of a box grater, straight into the flour.
- Use your fingertips, or pulse briefly in a food processor, rather than rubbing with warm palms.
- Keep the buttermilk or milk in the fridge until the moment you need it.
- Chill the cut scones on the tray for 15 minutes while the oven heats.
If the mixture looks like coarse breadcrumbs, with a few flattened pea-sized lumps left in, stop. Those lumps are the point.
Mistake three: pouring in all the liquid at once
A wet dough spreads sideways in the oven instead of rising. It also tempts you to add more flour, which makes the finished scone dry and close-textured — the worst of both worlds.
Hold back two tablespoons of the buttermilk. Add the rest, mix, and only add more if the dough genuinely will not come together. It should be soft, slightly tacky, and just able to clear the sides of the bowl. If it is sticking to your hands, dust the worktop lightly rather than tipping in flour by the handful.
Flour absorbs moisture differently depending on the brand, the age of the bag and the weather in your kitchen, so the liquid quantity in a recipe is a guide rather than a rule. Weighing flour on digital scales instead of scooping with a cup removes most of that guesswork.
Mistake four: twisting the cutter
This is the most common reason a perfectly good dough produces squat scones. Press a cutter into the dough and twist it, and you seal the sides. Sealed edges cannot open as the scone rises, so the dough goes out instead of up.
Push the cutter straight down, then lift it straight up without turning. Dip it in flour between cuts so it does not drag. A sharp, straight-sided cutter gives the cleanest edge; a glass will work, but check the rim is thin and even.
Two more things while you are at it. Cut the rounds close together so you waste less dough, and re-roll the trimmings only once — the second roll is always a little tougher than the first. And when you brush the tops with milk or beaten egg, keep it on the top. Wash that runs down the sides glues the layers shut and has the same effect as twisting.
Mistake five: a lukewarm oven and a crowded tray
Scones need heat, and they need it immediately. Put them into an oven that has not finished heating and they will spread before they set. Give the oven a full 15 minutes at around 220°C conventional, 200°C fan, and put the shelf in the middle or just above it.
Space matters too. Leave a couple of centimetres between the scones. Packed together, they trap steam and end up pale and soft-sided — fine for a pull-apart loaf, wrong for a scone.
Resist opening the door for the first ten minutes. Bake for 12–15 minutes, until they are tall, golden and the sides look set and dry. If the tops are colouring faster than the middles are cooking, your oven probably runs hot at the top; a sheet of baking paper laid loosely over the tray will slow that down.
A checklist for next time
- Cold butter, grated or rubbed in lightly, with a few lumps left.
- Wet ingredients straight from the fridge.
- Just enough liquid; the dough soft, not sloppy.
- Pat, fold once, cut straight down, no twisting.
- Hot oven, space on the tray, door shut.
None of this takes longer. It just takes a lighter hand.
Sweet or savoury, the same rules apply
Cheese scones are the same dough with a different accent. Add the grated cheese and a pinch of mustard powder with the dry ingredients, and expect to need a splash more buttermilk, because cheese brings its own moisture and body. Handle them just as gently, and do not be tempted to pack in more cheddar than the dough can carry — a heavy, wet filling weighs the scone down.
Make a batch this weekend. If they come out tall, split one while it is still warm and put the rest on a rack to cool. Cold scones are a different pleasure: split, toasted lightly, and eaten with butter, or with jam and clotted cream if you are feeling generous with yourself.
Photo: Zain Abba / Pexels